Wednesday, March 31, 2021

T-shirts in rugs - Have you tried them?

If not, you should!


It all started when Saudra Porter of Woodland Junction challenged rug hookers to use alternate materials to hook a rug and offered several antique patterns to choose to hook.  I chose Magdelana's pup. 


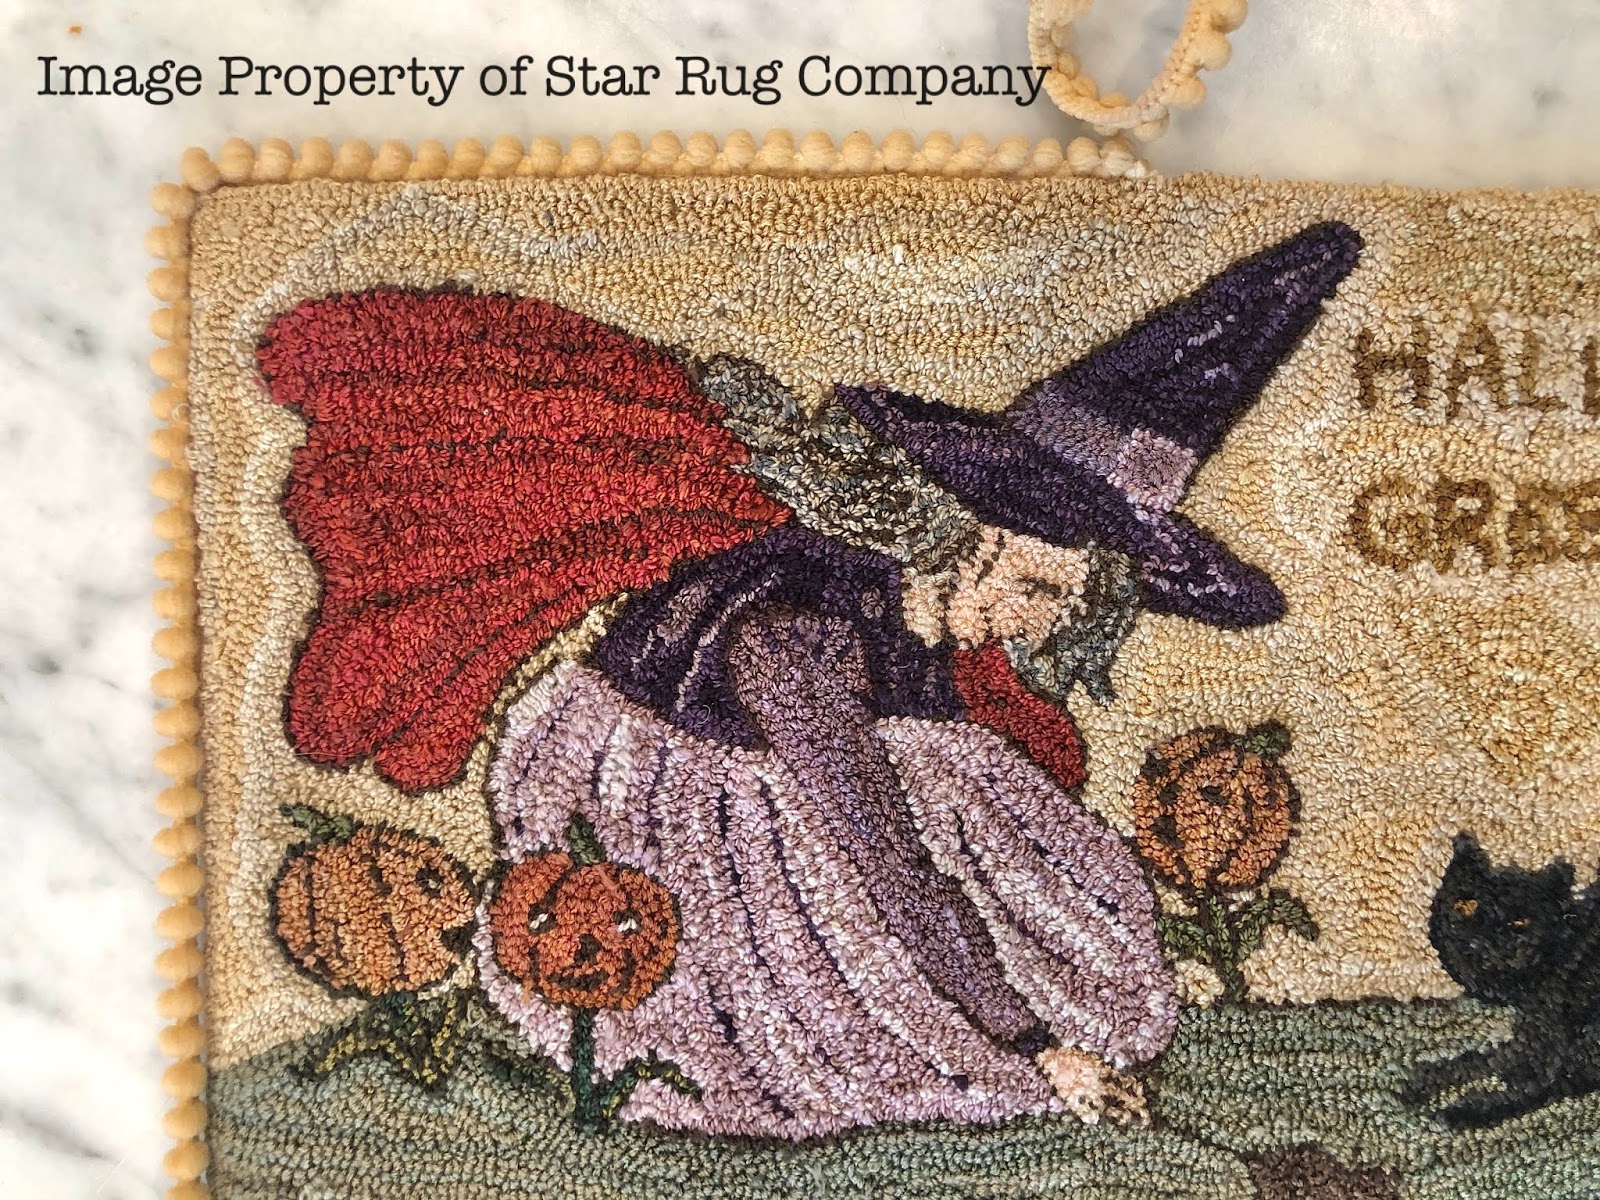
I'm a huge fan of Magdalina Briner's style having hooked many of her rugs over the years.  In fact my Star Rug Company logo is patterned off of one of her rugs so decided  to hook the rug using her signature colors instead of the muted colors of the antique rug. Don't get me wrong, I love the colors of the antique rug but wanted to see if I could create something similar  to Magdalina's color palette. What surprised me about the challenge was my fondness for using alternate materials and think that I will definitely use them more often in replicating antique rugs. 

My favorite material by far  is T-shirts.  I just love the look of the rolled fabric in a rug.  Besides being quite inexpensive, you get a lot a material from one T-Shirt.  I also dyed one of them as well using Rit dye and it turned out wonderfully mottled when done.  Don't know how to cut the t-shirts to roll into a ball? There are many You Tube Videos on how to cut a T-Shirt to get a continuous strip for knitting. I hope I have intrigued you to pull out one of your t-Shirts destined for the thrift store and give it a try.  Happy Hooking, Maria 

Tuesday, August 4, 2020

It's a Fabric NoteBook

 
Do you remember this stack of fabric?  


This is what I created with it. 


 A Fabric NoteBook. I'm so excited to start adorning it with bits and pieces and little treasures.   Remember that little punch needle sampler I posted on facebook a couple of weeks ago?  This one? 


 Well, it is just a memory and saved pictures now.  I had all my notes on the backside of the fabric and I needed to buy some floss so I took it with me to JoAnn's shopping and along the way I lost it.  Someone in Petoskey, Michigan is wondering what the heck it is. Lol! 

 Anyways, I realized I needed something a little more substantial for my notes and samples and I remembered the wonderful fabric notebook that Michele Palmer was creating for her rug hooking dye samples.  Have you seen her book?  You can check it out on her Facebook page. Click the link to see a sample of her Fabric Book & Illustrations It contains her wonderful illustrations along with samples of dyed wool.  Eye candy for sure! Rest assured my Notebook won't be nearly as wonderful as hers but it will do the trick.

So let me show you some of the pages I created. This is the front of the book. 

 It is about 8.5 inches wide and 7 tall.  And before you ask, I didn't have a pattern, I just flew by the seat of my pants on this one.

Inside cover and first page.


This is where I had some fun playing with my sewing machine.  I added decorative embroidery stiches to the edges so they wouldn’t continue to fray.  And that's something I learned...how to fray fabric.  Mind you I didn't do a real good job and probably should have watched a YouTube video but it works for now.

Second and Third pages


Third page


Fourth and Fifth Pages

Sixth and Seventh Pages


Eighth and Ninth Pages.  


See the stitching down the center?  After I cut out and decorated all the pages, I simply sewed the book down the middle.The remaining pages are just the reverse of the previous pages.


Practice stitches with my sewing machine.


Learning to fray material.


For the cover of the book, I cut out 2 pieces of the red fabric along with a piece of batting and sewed them together to give a little weight to the cover of the book.

So what do you think?  Anyone else going to create one? 
 Happy Creating, Maria 

Friday, June 26, 2020

Antique Cow Rug

—————————————— ***** —————————————

A week or so ago, I posted a picture of the cow rug (based upon an antique rug) I was working on for my 10 minute Deanne Fitzpatrick Rug Hooking challenge, which you can find Here.
Not surprising, I had many inquiries about it and it's is no wonder.... just look at the precious little face.  


It just makes me smile every time I see it.   

Here is a picture of the antique rug 


And here are some pictures of  my version of it


You can see that I strayed from replicating the original to a T.  Hooking the  background behind the cow in brown and blue  just didn't make sense to me so I stuck with the blue color.  Also, I changed the flowers and leaves around the cow a little just to make more room to hook. The thought of finishing the scalloped edge was intimidating so I added a border around the edge.  I'm sure that the cow is supposed to have 3 teats but in the original it looks like only two were hooked so that’s what I hooked.   I can add the third one into the pattern if want it.


I have the pattern available for purchase if you would like to hook this sweet little rug. It is drawn on linen and measures 16 x 21 inches and is $42 plus $5 shipping first class. You can purchase by clicking the buy it now button. 


STAR RUG COMPANY 

Sunday, June 21, 2020

Patriotic Flag is available as a digital download pattern

Hello friends,

Many of you have inquired about my Patriotic Flag Needle Punch Pattern and asked if it would be available as a punch needle pattern.   AND the answer is Yes!  I'm going to try something a little different  and sell it as a digital PDF pattern from my blog through paypal. In the photos below, the first  Patriotic Flag was punched by Judy Estep using Valdani threads and I punched the bottom Patriotic Flag using DMC flosses.  The Digital pattern contains a floss chart for both Valdani and DMC and also thread placement charts for both threads.  The size of Judy's PN is 3.25 by 4 inches and mine is 3.75 x 4.8.  


Click the button to buy the Digital PDF paper Needle Punch Pattern for $8.00.  I will email you the pattern.  If you do not receive it right away, please understand that I may be away from my computer or phone and unable to do so right away.  


Saturday, April 11, 2020

Happy Accident

It’s a personal challenge of mine to finish some of my punch needle patterns that have been laying around waiting for me to punch the last few loops or finish the edges. While working on finishing the edge of my Witch in the Pumpkin Field Needle Punch Pattern (the digital pattern is on Etsy here) on Friday, I was dying some Pom-Pom trim for the edge of it. The first batch I dyed was pretty garish,


Yeah, no.....the trim is too orangey, don't your think?


                    Same with the send attempt, better but not quite right.


On the third attempt I think I nailed the color pretty well. What do you think? 


Anyways, fast forward to yesterday, I pulled out my Gnarly Dude to finish punching him. He’s been siting in my craft room for nearly 4 years waiting, waiting just waiting to be finished. Well, yesterday was the day. The only problem is I did not keep good records (actually no records) of the flosses I used, so much of my time was spent trying to determine and recreate the colors I used. Once, I figured out the colors, he was done pretty quickly.

Now here’s where the happy accident comes into play. While I was cleaning my punching area and gathering my stuff to put away, I happened to throw the garish Pom-Pom trim on Gnarly Dude and I was giddy with delight. It matched perfectly. My only choice now is to choose the top or the bottom trim color.  


.


Happy Accident, I think so. Thanks for stopping by and Happy Easter.

Sunday, May 13, 2018

Press and Seal - Have you used it?

Press and Seal is not just for leftovers anymore!  It should be in all your Hooking and Punch needle Bags. I was first introduced to it last summer while teaching at the Manistee Rug Camp in Manistee Michigan. {Huge shoutout to a wonderful camp!!} One of my students put some over the top of rug to keep that pesky wool dust for imbedding in the rug she was Hooking. BRILLIANT! 

It was too good a tip not to share with the class so I showed everyone everyone the tip and many of the gals also had Press and Seal in their bags and they started to share other ways to use it. One of my favorites was to use it when Oxford punching to cover the front side of  your work so as not to pull out your loops when you detach it from a gripper frame. 

So fast word to today. I was Punch Needling a larger design and I had part of my finished design over the gripper  strips. When I went to move my Needle Punch Piece, I forgot to be gentle with it and snagged many loops. Darn it! But that’s when I remembered what the ladies in Manistee had taught me about Press and Seal and knew it would work with Needle Punch as well.


I pulled  it out out the drawer and cut a piece to just cover the design that would be over the gripper strips and pressed it on the design.


 My design wasn’t the whole width of the the gripper strips so I was able to still get some of weavers cloth to grip the gripper strips while protecting the finished piece. 

And the weavers cloth is tight as a drum on the frame and I can finish it without worrying about damaging my finished piece. 

Press and Seal for the win! Thanks for stopping, Maria 


Monday, April 9, 2018

Inspiration for Punch Needle patterns

Where do you find your inspiration for punch needle or rug hooking patterns is a question I get asked a lot. And the answer is everywhere. Probably like most of you, much of my inspiration comes from the web. Pinterest is the bomb when wanting to find inspiration and most of my ideas for antique inspired patterns comes from it.


Sometimes though something just pops into my head out of the blue. For instance, last week as I was driving to work in a snowstorm (yes you read that right) and passed a farm with cows and I thought “Those poor cows. They need spring and warmer weather.”  And I remembered an antique rug I pinned with a cow surrounded by a border of flowers.
                               

Isn’t it a wonderful rug?  The muted colors make my heart pitter patter. The brain works in weird ways and what made me think of this rug that I had pinned is a mystery but I love it and  think that it will be my next project. I’m still deciding which medium, needle punch or rug hooking, but but hope to work on it this weekend.


Since I have cows on the brain, I have been doodling all sorts of designs involving cows. I’m certain several of my doodles will wind up as whimsical rugs or needle punch patterns so stayed tuned to Facebook and Instagram for photos.


Like the cow pattern, most of my patterns are based on antique rugs. My latest needle punch pattern “Pennsylvania Birds”  is based upon an antique fractur.
                        
                                          
Interesting that both of the inspiration pieces have warm brown, blue and parchment colors and I punched a brighter version. While, I love the colors above, I always tend to gravitate to the brighter colors. I think we all have a color palette that we are comfortable with and tend to hook or punch in the color zone unless forced outside of it.

                                
As you can see, I didn’t include the horses in the pattern. I like the horses and may someday punch or hook them separately. I also have started to hook this pattern and changed up the colors and used a dark background.


Both the needle punch and rug patterns are available. The Needle Punch pattern is $18 plus shipping  is 6 x 8.5 and the rug pattern is 30 x 39 and is $75 plus shipping. Thanks for stopping by my blog. Maria