Sunday, March 24, 2013

A long over due post


When I was transferring photos from my old phone to my new one, I came across some photos from my 2012 Sauder Village class and realized I never posted any pictures from the class. So I figured it was better late than never.

The class was called flower basket with a twist. In the class, I taught how to make "proddy like" flowers that are not proddied.
The wool is cut, rolled and sewn into flowers which are attached to the linen with needle and thread. Unlike proddy, these flowers can easily be made into pins.

During class, I showed several different examples of flowers including, bittersweet, pink cone flowers, sunflowers, bee balm, and black eyes Susan.

This was one of the class samples (the class favorite) sunflowers and bittersweet in a blue ball jar.

Works in progress.....


Love the flower in this one.....


I had a huge selection of wool to choose from so participants were able to personalize and select their own colors.

Don't you just love the amber colored ball jar of this rug?
This was another class sample for the students to hook.
Check out the awesome flowers that were made!

And this was the last class sample
Love what Heidi was doing with the pattern. She is very creative and I know she will find cool ways to use this technique to make items other than rugs.
Thanks for stopping by, I hope your day ia a creative one! Maria


Friday, March 22, 2013

Just had to share this rug

You know how there are some rugs that just make you smile? Well, this is one of those rugs for me. This is my version of the antique rug. 

I don't know what it is about this rug but it just makes me happy. 

Maybe it's the asymmetrical composition of this rug?

The colors? 
 
Or the simplicity of the rug?

 
Recently, a customer asked me to make a kit of this rug for her. As I had only needlepunched this design, I had to hook it quickly so that I could prepare the kit for her.  Below is the antique rug. 
 
My rendition in Needle Punch.....

  
  I was able to hook the pattern, which is 22 x 22", by using the Amy Oxford punch needle in only 5 days.  Thanks for stopping by, Maria

********   UPDATE   *******
I have several inquiries about the cost of the kit and it is $160 plus shipping.


Friday, March 8, 2013

Playing around with a new Toy

With a new IPhone that is (mom, if you are reading post and want my old phone, I'll save it for you)  (****Update**** Mom wants the phone****)
 I broke down and bought the latest  version with all the bells and whistles including a much better camera.  Hopefully, I'll be able to blog a little more with the new phone as well.So this post is a test of sorts. Normally, I have to doctor my photos before posting but I'm hoping with the better camera on the iPhone 5 I won't have to do that.
I have a few more items that I'm going to part with and before taking them to thrift store, thought I would offer them to you to see if there are any takers.
First item is a Jennifer Schneeman small. It is a little angel with wings. It is signed and dated by her. Kindly, asking $15 plus shipping for her.
 
UPDATE- SOLD- Thank you


The next two items are sewing pocket made by Sharon Smith. You know the gal with all the wonderful rug hooking patterns. I purchased these ( or maybe we traded wool, can't remember) from her when I taught a class in Minnesota.  They are made out if wool, velvet, beads, vintage trim and buttons. Truly works on art. My pictures just don't do justice to these sewing pockets. The insides of the sewing pockets would be great for holding small scissors, needles, threads and even hooks. Kindly asking $20 each plus shipping.

UPDATE- SOLD- Thankyou


The next one..

The last item is an original theorem painted by Ann Rhea. It depicts a log cabin and bird. I paid $55 for it years ago. Kindly asking $18 plus shipping.

UPDATE- SOLD-Thankyou

So all in all the new phone works well. Only problem is that some of my photos are upside down. I'll have to work on that.

If anyone is interested in any of the items, email me at davemariab@sbcglobal.net


Thursday, February 28, 2013

Sheep collage update

Hello everyone,
I'm posting a few pictures of my sheep in progress...... I'll be moving to the face area next. I'm not entirely happy with the progress thus far but hoping that with a little tweaking it will look a little better.
The penguin is a collage that my daughter and I made for her teacher. We used her homework papers in the collage.
Thanks for spending a little time with me today, Maria


Saturday, February 23, 2013

A couple of Works in Progress and New Collage project

I wanted to share with you a few rugs I've been working on in between collages. Count Dracula is nearly done but I need to rework a few areas of him before I am happy.  Normally, I like to wait to share my rugs until they are done but tonight thought it would be a good opportunity to share them in progress.  There is something that is bugging me about this rug and I think it is the face.  Don't know exactly what it is but something just is not working for me.  Maybe I'll try outlining the face with a darker green.  
 
Sweet Bea is well on her way too...For the background, I just grabbed my blue worm basket and started hooking. I can see from this picture that I need to do a little reverse hooking with the blue.  The light blue wool around her head and under her arms is just not working well...Stay turned for those changes.
 
Here is my next collage project.  I've painted the paper and am ready to start tearing paper and pasting it. 
Thanks for stopping by... Maria


Wednesday, February 20, 2013

My Collage Class

What fun we had at our impromptu collaging class. I am a novice when it comes to collaging but a few of my pals were interested in learning so we scheduled a date and collaged our hearts away.

Shelly, fellow hockey play, collaging this sweet little bird. I was blown away by this bird as I really had no idea that Shelly was artistically inclined. Not only is her design wonderful but she collaged the background in a manner that I would have never imagined. She tore the paper into long strips and collaged them diagonally. Very clever. We'll be spending more time together off the ice collaging!

Here are the girls. The three on on the left are all fellow hockey players. Don't they look to sweet to be hockey players?

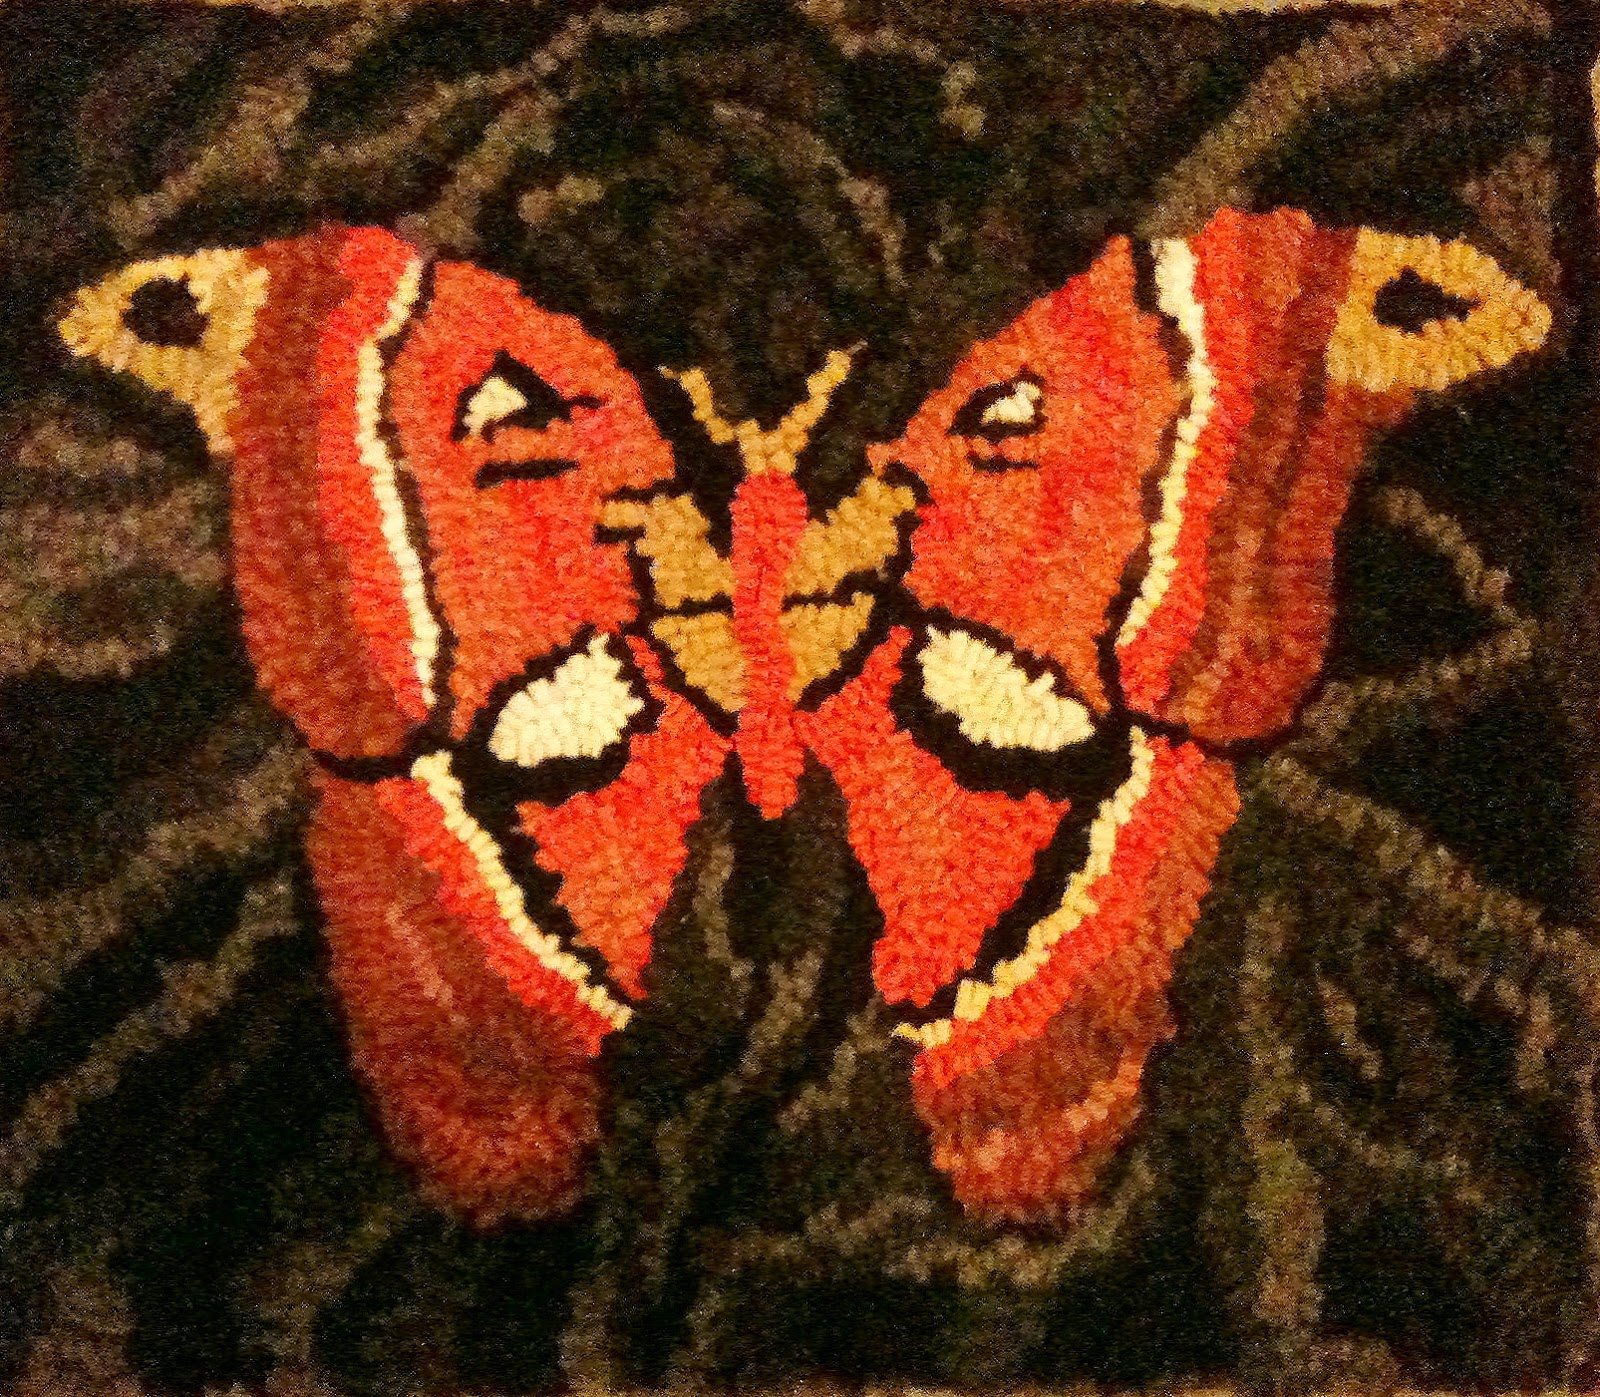
This flower is Holly's gem. Holly is incredibly talented artistically. This was very intricate and going to be hard to collage into between all those petals but if anyone can do it Holly will. I can't wait to see it this week. Several years ago when I taught a rug hooking class to my pals, Holly really took to the craft and hooked an amazing butterfly for her first rug.....

Here it is.....amazing for her first rug!


This is Melissa's collage and it is sweet as can be. She included sentiments for each of her three kids in it.
This is Amy's collage and it turned out great as well. She painted some of her kid's homework paper and included it in the collage. I love her "Amy -n- Doug" graffiti.

Dee made this collage and the "H" stands for her last name and Home. Isn't that cool? She too has sweet sentiments for three kids in this collage.
Last but not least is Tracey's collage. She made photocopies of some of her daughter's important paperwork like birth certificate, footprints and birth records. It is just as precious as it can be.


We are meeting again next week and I can't wait to see what this creative bunch of ladies does next. Thanks for stopping by, Maria
PS. Yes, I still am hooking and will have few finishes or works in progress to share in the next couple of posts.

Tuesday, February 19, 2013

Little Devil Girl

Last fall I designed a rug with 6 characters for a delightful lady in my Star of Texas class in Tyler. She loved my Halloween characters but wanted the rug to have the phrase "trick or treat smell my feet or give me something good to eat". So in order to get the phrase on the pattern (the pattern is long) I had to create some new characters. Count Dracula was one and this little Devil Girl is another. While I just can't seem to find the time to hook all the designs I have created, I can collage them fairly quickly.
Here is what the gal looked like after painting.....
But the real fun and magic starts during the collage phase. I just love how these characters take on such personality when the collaging begins...
Some of my painted paper ready for collaging.

More paper....

Whenever I paint, I put down wax paper to protect my counters and I just love what I looks like when I'm done. But I'm thinking if I put paper down instead, I could use the paper vs wax paper for collaging. Ah something to think about.

Here is what my paint palette looked like during the underpainting stage.

We just recently returned from Florida and I finished this gal while on the plane. I'll upload the finished piece for you to see as well as some new pieces tomorrow.

Thanks for stopping by....Maria