Sunday, March 20, 2011

Challenge Pictures.....

I knew before I received the box of materials from Alice, what I was going to do. The challenge for me was to work the materials Alice sent to me into the purse I wanted to make. Ali Strebel's purses are the bomb and I was hoping I could combine the materials into the purse somehow. Here is the link to All's website where you can purchase the book. I have made several of these bags and I love them. www.alistrebeldesigns.com/products/Best-Bags-Ever.html

So here is what I came up with. I made the purse out of wool and a fun cotton lining.

The three hooked stars have the wool, paisly, yarn, sweater material and ribbon hooked into them.


Below is one of the wool circles that I added to the purse. I added some decorative stitching to the wool.

Don't you love the fun orange lining fabric in the purse?

Here is a picture of the side of the purse. You can see the yellow wool yarn that I made into the button. I love how the purse folds when the straps are pulled (thanks to the grommets).

Check out Ali http://alistrebel.blogspot.com/2011/03/last-blog-challenge-for-now.html , Alice http://alice-folkartprimitives.blogspot.com/2011/03/blog-challenge-4.html and Kris's http://spruceridgestudios.blogspot.com/2011/03/fourth-blog-challenge-project-revealed.html
projects They all did a great job!

Thanks for stopping by and checking out the pictures. This is going to be the last challenge project for a few months. All four of us get really busy in the spring/summer/fall and we thought it best if we take a break for a few months. I for one am so happy we decided to do these challenges as I have learned so much. From new techniques to new color combinations, it has been a growing process for me.

Another Hooked rug to share


Although winter is over for most of us, I just had to share this photo I received from Sue. She hooked Mister Snowman and did a great job. The colors she chose are perfect. Her background wool is lovely and looks like snow swirling around. I love what she did with the face of the snowman. The outline around it really makes it pop! AND check out the tree....she added snow to the branches.....too darling. Thanks so much to Sue for sharing her wonderful rug. Keep the rugs coming....we all love to see what you are doing. Maria

Tuesday, March 15, 2011

Lots of Pictures!

Last weekend, was a fund raiser for our local Catholic School, Bishop Baraga, and I put together a basket full of "baby girl items" for one of the raffle baskets. I always have fun putting together baskets like this and working on new items. I snapped a few pictures so you could see what I have been up to the last few weeks. Enjoy the pictures.
This is a picture of the basket with all the stuff in it.

The next 6 pictures show the quilt that was included in the basket. Let me just say, {disclaimer} that I am not a quilter and don't profess to be. I drew out my own pattern and had fun with the placement of the blocks and color in the quilt. After I peiced the quilt, I took it to a long arm quilter to finish the quilting. I did attach the binding {I tried to get the quilter to do it for me and she wouldn't bite}


In the next two pictures, you can really see the quilting. When I received it back from the long arm quilter, it looked kind of flat, so I decided to throw it in the washing machine and dryer. Believe me, I was holding my breath wondering if I had made the right decision. Let me tell you, it made the quilting look so much better.
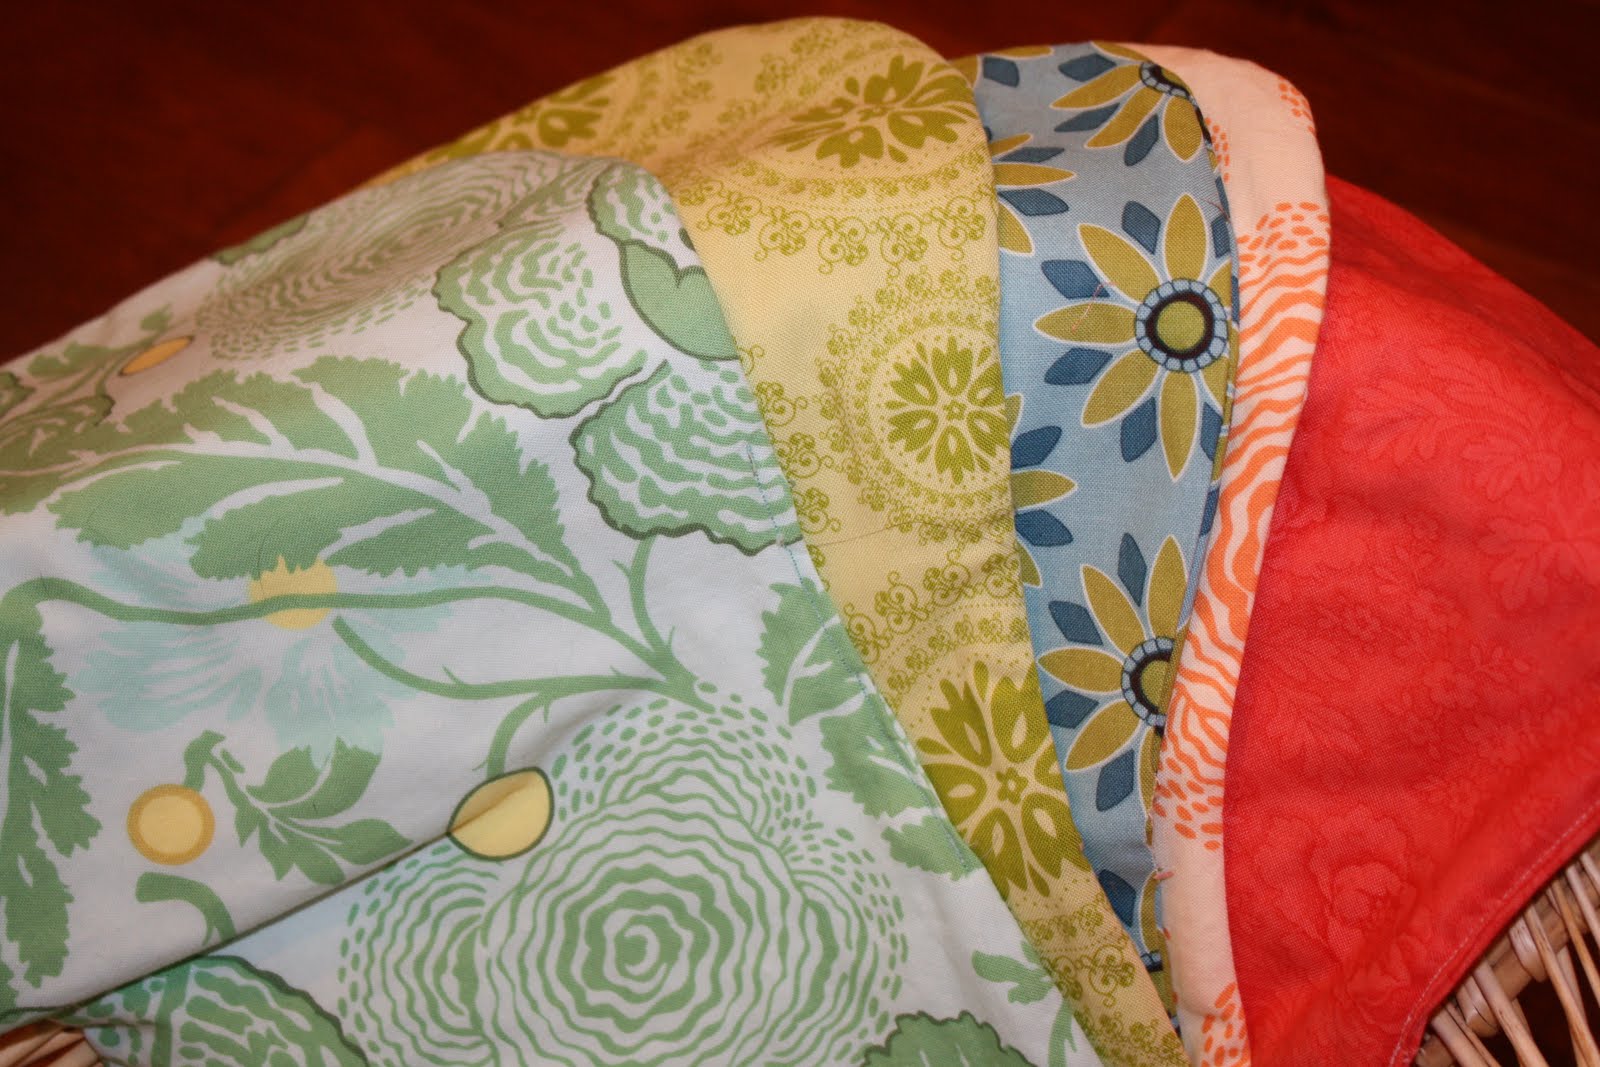
I just love the background fabric with stars in it.


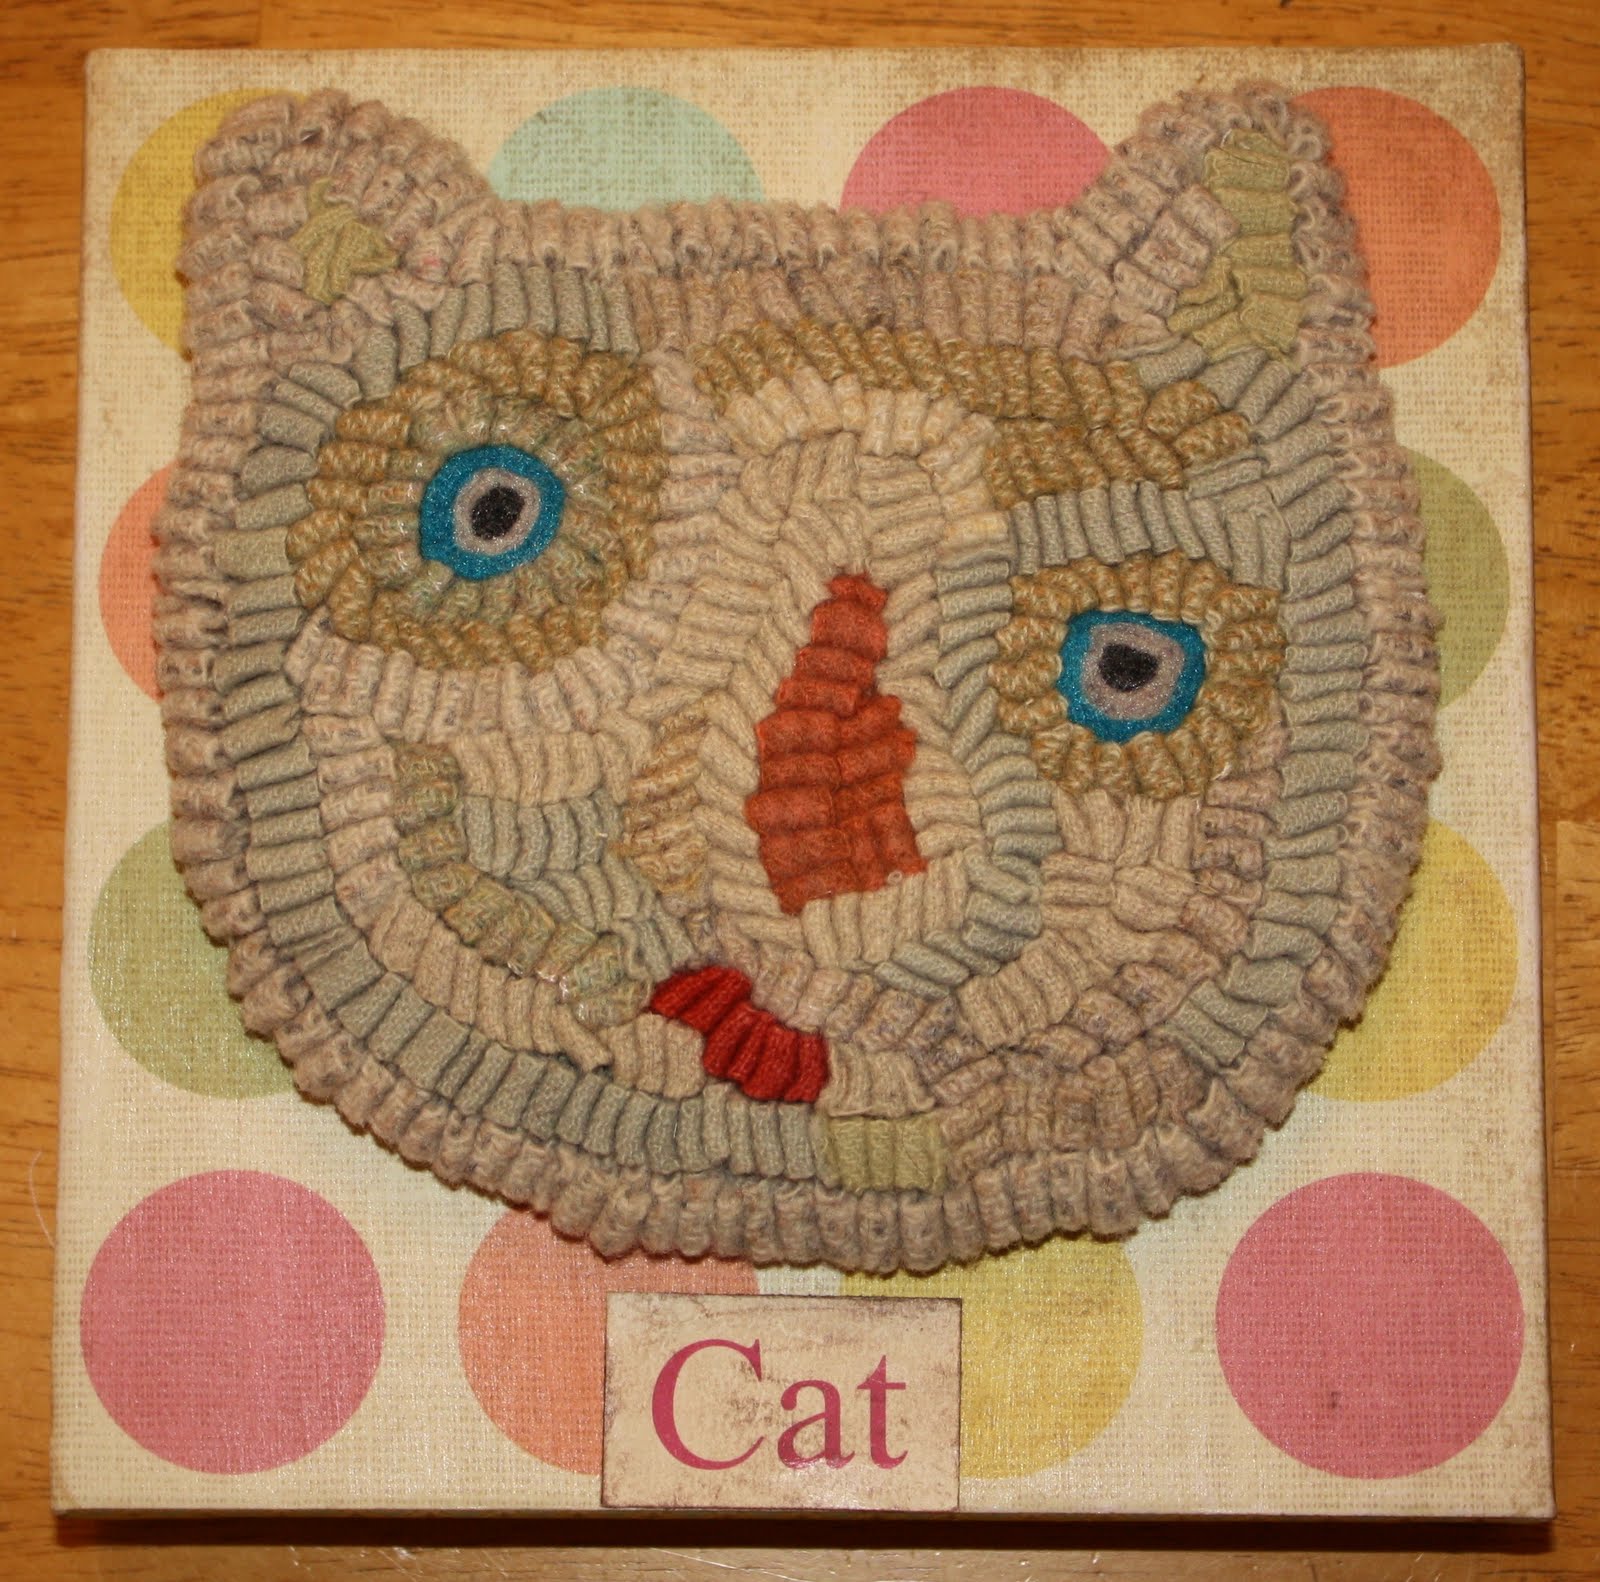
I also made a cat wall hanging for the basket. Love this little hooked cat! I matted him onto a art canvas which was covered with scrapbook paper. The sides of the canvas were done with different paper than the front. I attached a little piece of paper that read "cat".

Pictured below are three onesies that I appliqued and detailed. I know it is hard to see, but around the collars I added a decorative stitch with my sewing machine.

A closer picture of one of the onesies. You can see the stitching on the collar


5 burp clothes for the basket....

Some yo-yo barrettes for the little bambino!

The sweet little bunny doll was made by my friend Melissa Bridges. This was her first attempt at a doll and she did a great job. I really wanted to keep the bunny, sniff, sniff!


The purse is a pattern from Kindred Spirits and it is just the best purse. I didn't get a real good picture of it, but the purse has grommets and is lined with the wonderful bright pink Amy Butler fabric from the quilt and onesies.

Picture of the covered button on the side of the purse.


I also made a pillow for the basket and tried something new on the pillow. To the sides of the pillow, I added ribbon....you can see it better in the second photo. Babies and kids love the feel of ribbon and I thought it would be a fun addition to the pillow


Thanks for stopping by and checking out all my photos. Maria

Monday, March 7, 2011

What I'm working on Wednesday post........

There hasn't been a whole lot of hooking happening at the Barton house. My studio is in a state of disarray and I have devoted most of my free time {ie. hooking time} trying to clean and organize it. If I get brave enough I'll show you a picture of it. I'll have to think about it a while........

Ok, thought about it....and I gotta believe that I am not the only person out there with a "worked in" {messy} studio! So here goes it....


Last year, I had the book case, cabinets and counter built to store most of business and craft items. Only problem {as you can see}, I need more space. The book shelves were filled quickly with all my rug hooking and other craft related books.


This space doesn't even come close to storing all my hooking magazines.

In the plastic drawers, I have all my floss for punch needle.


I wanted a more contemporary feel to the space so I used a stainless steel looking formica for the countertop and a blue/gray color on the wall.


To save space, I had a light table built right into the countertop.


It works well for my smaller patterns but for my larger patterns, it is a little tricky drawing them. The counter/desktop also serves as my sewing space and computer table. Believe me, this area is a multi-functioning zone!


The lower cupboards are from IKEA and were a great price and function well. They also hide alot of my craft items.


You can see I've hung some of my favorite hooked altered art items on the side of the bookcase and wall.


These guys make me happy and shouldn't your creative space do that?

On the other bookcase, I've tacked in a few punch needles I've made.


The cat needle punch was gifted to me by Kelley Belfast and that doggone guy makes me grin everytime I look at him.

Panning to the left, you will see a shelving unit {also IKEA}.


I've added the colorful storage boxes to hide wool, yarn, and craft items.
Thanks for stopping by and checking out my studio.

Once I tackle the other side of the room, I'll share some photos with you. Til then, Maria

Tuesday, February 22, 2011

Tuesday's Tutorial....

Tuesday's tutorial is how to make the carrots from my Mister Wild Hare.


They were super easy and I had all the supplies on hand. All you need is fabric,sewing machine, a piece of ribbon,safety pin, glue gun and some greenery. The carrot tutorial is from the Idea Room Blog.

Here is the link to the tutorial from The Idea Room.
http://www.theidearoom.net/2010/03/easter-carrots.html

I made my carrots shorter than the ones on the tutorial. Mine were about 8 inches long. Don't you think a trio of these would nifty on a front or a cupboard door?

I'd love to see how you decorate with your carrots..{cause I know you will be making some of these for Easter} Maria

Sunday, February 20, 2011

Challenge Project Revealed....Mister Wild Hare

Here is my challenge project and hopefully this will post before midnight {I better type quickly}! Believe it or not, I did have this guy done by 6:00 but had a meeting that lasted for 3 1/2 hours so it put me a little behind! Ok, enough whining.....
This challenge was the hardest one for me this far. Mainly because I was trying to think outside the box and do something different than an art canvas. Try as I might I could not get away from scrapbook paper though.

My husband thinks my bunny looks a little scary because of his off kilter eyes. What do you think? Dave was such a good sport and helped me rig this guy so he would sit atop the paper mache box. So in his honor, I am naming this challenge project, MISTER WILD HARE!


I'll be honest with you, the green floss really challenged me. In the end, I used it in the stems for the carrots. I wrapped the fleece around wire and stuck it in to the carrots. Tomorrow, I'll post the link to show you how to make carrots. It was really easy. You can't see it in this picture but I used the black cording to make (pucker) the tops of the carrots.

The picture above also shows how I used the fleece.....I sewed it into the ears. You can't see it but I added wire into the ears {and arms} so that I could pose them.

When I opened the package from Kris and saw the stick, I immediately knew it would make a walking stick for my WILD HARE!


Here is where I used the scrapbook paper.....I collaged it onto a paper mache box. I grunged it up a bit with brown chalk.
For the buttons, I rolled up the yarn and stitched them to look like buttons

Again, here is a full shot of Mister Wild Hare.

I added this picture because I love this little martini table that Mister Wild Hare is sitting on. Isn't it fun?


Check out the other challenge projects here....

Kris Miller http://spruceridgestudios.blogspot.com/
Alice Frazier
http://alice-folkartprimitives.blogspot.com/

Ali Strebel http://alistrebel.blogspot.com/


I'll be blogging a little more about this challenge and my thoughts thus far on doing these challenges........Maria

Wednesday, February 9, 2011

What I'm working on Wednesday.......

Two posts in one day....now that has to be a first. I just snapped this picture to share with you. It has been on my stack of designs to hook for a while and with Presidents Day right around the corner, I thought I better get a hooking!


Oh, and if you didn't know it is a pattern, of George Washington. I think I'm going to call this pattern/rug, "Never Tell a Lie". After snapping this photo, I did notice a few things about the rug. One, I need to work on the buttons on the white shirt. Something is not working with it as hooked. Next, was George Washington this angry looking? May have to do a little research on that and rehook the face.
Thanks for stopping by.
I'd love feedback and constructive criticism on George. Maria